So far, we have learned how to deploy a Cloudflare worker using Github Actions and CircleCI. The next post in this series will describe how to deploy a Cloudflare worker using Travis CI.
Would you like to learn more about Cloudflare Workers? Click here.

Introduction
In this tutorial, we will be exploring how to build a CI/CD pipeline that publishes to the Cloudflare workers every time we push new code to our Github branch. CI/CD is a set of practices that allow us to develop, test and deploy our code at high speed, all without sacrificing code quality or service availability. Travis CI is a very similar CI/CD tool to CircleCI that helps us automate builds, tests and deployments of our code. It also has a user-friendly interface that is easy to use. Cloudflare is a web performance and security company that provides online services to protect and accelerate websites online. One of their offered services is called “Cloudflare workers”. Cloudflare Workers are modeled on the Service Workers available in modern web browsers, however and unlike standard Service Workers, Cloudflare Workers run on Cloudflare servers, not in the user’s browser.
Components (Summary)
The two main components involved in this article are a Wrangler configuration file and the Travis CI configuration file.
- Wrangler configuration file. This is the
wrangler.tomlfile which contains the information wrangler needs to connect to the Cloudflare Workers API, and publish your code. In general, Wrangler, aka Cloudflare Worker’s CLI tool allow us to create, build, and publish Cloudflare workers projects from the command-line.
- Travis CI configuration file. This is the
.travis.ymlfile stored in the root of your repository. This file will tell Travis CI what to do with our code during the deployment process.
Install Wrangler
The first step to do is to install Wrangler using the following command. This can be done on your local computer or on your cloud server.
$ npm i @cloudflare/wrangler -gNext, we need to use Wrangler to generate a new project for us with a new directory that we can navigate to, and install necessary dependencies for the CI system.
$ wrangler generate cf-worker
$ cd cf-worker
Configure Wrangler
To configure Wrangler, we simply need to edit the generated file wrangler.toml. The following file is the one we used in our test:
name = "cf-worker"
type = "javascript"
workers_dev = false
route = "www.domain.com/cf-worker"
The components of this file are:
The name field which will also be the name of our project or script.
The type field which tells wrangler build how to build our project. For now we are working with a NodeJS project so we picked Javascript as a type.
The workers_dev which is a true/false flag used to determine if our worker will be deployed to our workers.dev subdomain (if set to true), or to another custom domain that is served by CloudFlare. Since we used a custom domain in this example, we set this flag to false.
The route key will represent a path pattern your worker will be served at.
Configure Travis CI
After setting up Wrangler, we should be able to work on configuring Travis CI. This means we have to create a .travis.yml file in the root directory of our project.
This is how our .travis.yml file looks like:
os:
- linux
dist: xenial
language: node_js
node_js:
  - "node"

deploy:
  - provider: script
    script:
     npm i @cloudflare g
     wrangler publish
    skip_cleanup: true
    on:
      all_branches: true
The components of this file are described below:
os: This is where we choose our build environment operating system.
dist: The build environment distribution.
language: This is where we declare what language support we would like Travis CI to enable. In our case, we will be using a Javascript build environment with the latest stable version of Node.js.
deploy: This property indicates our deployment target configuration. We picked a custom script for our provider. We then specified our script which is a simple wrangler publish command, and explicitly opted out of the cleanup of our working directory which is enabled by default in this version of Travis, and finally we declare the deployment step to trigger on all builds on all branches.
Connecting it all together
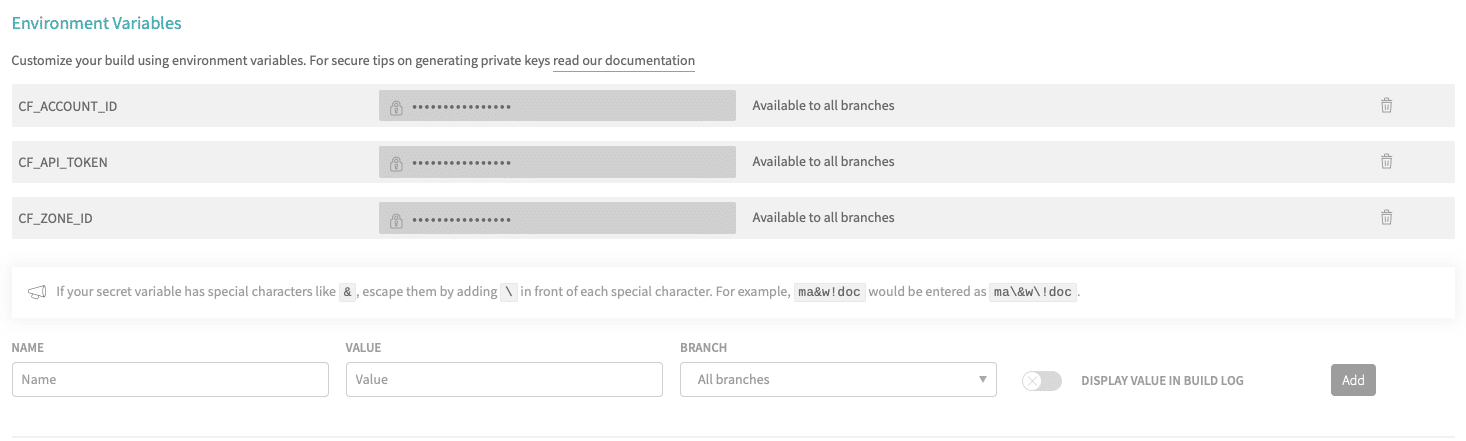
Now that we have configured Travis CI deployment steps, the last remaining task is to add the necessary environment variables on Travis CI web interface side so that it can authenticate correctly with Cloudflare. To add these environment variables, we need to head to our repository on Travis side, then click on it and click on More options at the top right and finally choose Settings. Next, we need to add the following environment variables:
CF_ACCOUNT_ID: your Cloudflare account ID
CF_ZONE_ID: your Cloudflare Zone ID
CF_API_TOKEN: your Cloudflare API Token
You can refer to this and this in order to respectively retrieve the first two values and generate the third one.
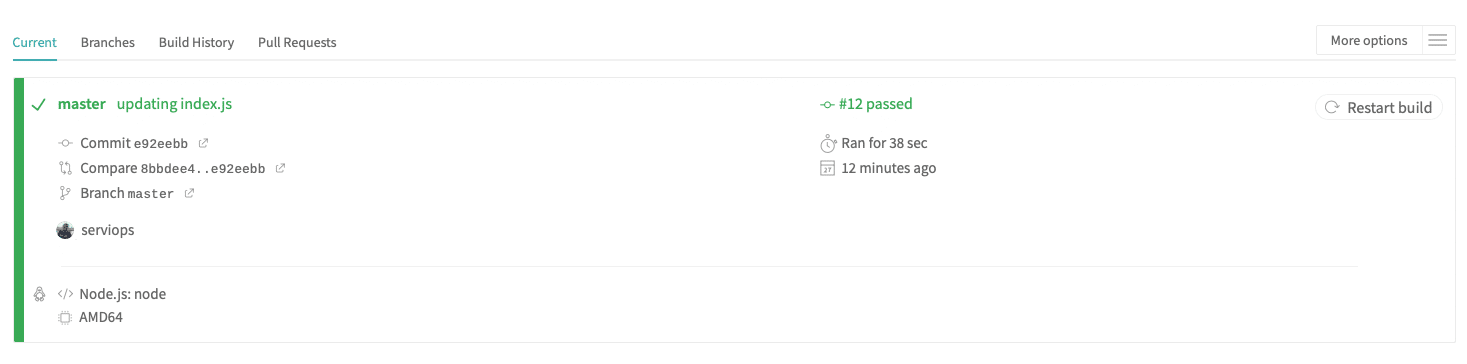
Testing our Configuration
We should be able now to push our code to our Github repo, and then sit back and let Travis CI start the deployment of the Cloudflare worker.

About Travis CI
- Cloud based system.
- Offers a free plan only for open-sourced projects.
- Define your workflows in yaml format.
- User friendly interface and extensive documentation.
- Compatible with a vast majority of programming languages:
- Python, PHP, Node.js, Ruby, Go (Golang), Java, Dart, Objective-C, C, C#, C++, etc
- You can get started with the documentation here
Your Turn
It’s time for you to give it a try! You may also take a look at how we deployed a Cloudflare worker using other CI tools:
A Full CI/CD Pipeline for Cloudflare Workers with Github Actions
A Full CI/CD Pipeline for Cloudflare Workers with CircleCI
Feedback
Can we do better? We are always open to suggestions on fine tuning our process and widening out our subject matter – especially at the request of a fellow coder.